The sheep are having a wonderful time on their blog-trotting tour around the world and will visit just 3 more blogs before heading home. If you would like a 'virtual' visit from the Flutterby flock and become part of this 'sheepy saga' please let me know as soon as you can.
JUST 3 MORE BLOG VISITS and the sheep will be coming home.
The story continues...
Against all the odds the Flutterby flock made it to Melbourne in their bubble and had great fun staying with their Australian cousins Shee-Baa and Lam-Baa. But all too quickly the time had come for them to move on again. Now they were bound for Ireland where their woolly cousin lived with Little Bo-Peep at Carol's blog Wee Cute Treasures. (Do pop in as Carol makes the sweetest little dolls).
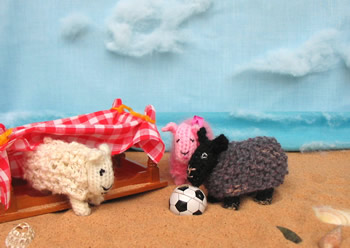
And so, with the long journey to Ireland ahead of them, the three friends walked to the south coast of Australia where they played happily on the golden sands. Some picnickers had left a table and a gingham cloth and these they quickly made into a little tent, a useful shelter from the sea breezes.
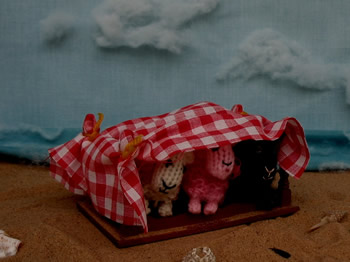
As night fell the threesome huddled together inside their makeshift tent. A strong wind was picking up and as they drifted off to sleep they were lulled by the sound of the rolling waves.
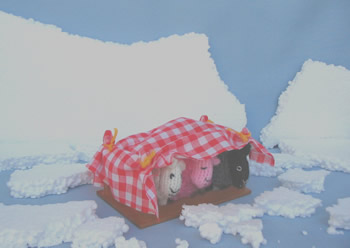
As dawn broke the unhappy sheep woke to find a thick fog had descended and icy water was lapping round their shelter. During the night their little table-tent must have been carried away by the waves and now, surrounded by ice, it looked as if they were heading for Antarctica.
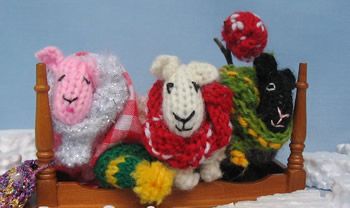
Shivering and cold Chalky wrapped this red and white Manchester United scarf around his neck. Charcoal put on his green scarf with the yellow stripes that reminded him of the fields back home and Rose chose her white scarf with a hint of sparkle and used the gingham cloth as a blanket. The scarves didn't help much. The shivering continued. What were they to do?
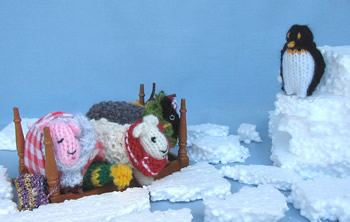
"Need any assistance?" came a voice.
They turned and saw a penguin looking down at them from a passing iceberg. Then four more penguins appeared beside him.
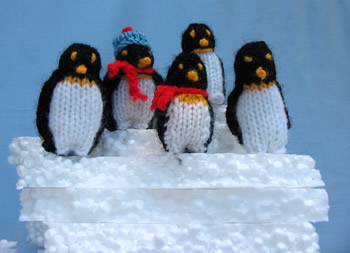
"Where are you heading?" asked the first penguin.
"Ireland", Chalky replied.
"You'd better jump on board. We're going that way on our 'Pole to Pole' Expedition. We'll be passing Ireland as we travel north so we can drop you off".
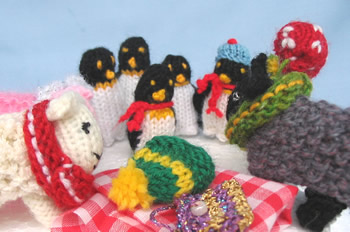
It was an opportunity not to missed and without further encouragement the Flutterby flock clambered onto the penguins' iceberg. It was soon decided that the gingham cloth should be raised as a sail and with a strong wind behind them the voyage progressed full speed ahead.
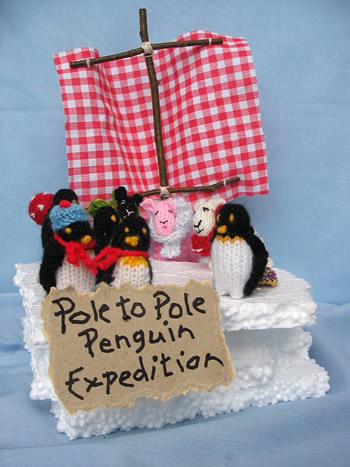
It was a long way to Ireland from the Southern Ocean but with the penguins as navigators the sheep were confident they would arrive safely.
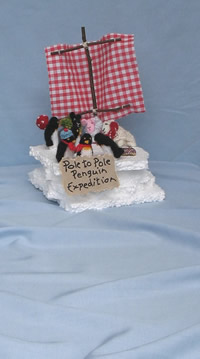
And so we leave them sailing toward a distant horizon.
Blog-trotting to be continued..........
Until next time
Eli.
If you have knitted a sheep using my pattern and would like a 'virtual' visit from the Flutterby flock you can get details by clicking on the link in my sidebar entitled AROUND THE WORLD IN 10 BLOGS.
Knit a penguin
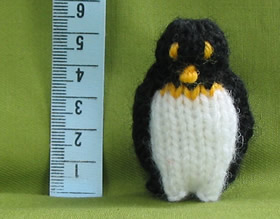
Measuring a little over 5 cm my penguins are short little fellows but very easy to knit. No shaping is required! Don't be put off by the number of illustrations as each step is very easy to follow.
You will need small amounts of DK yarn in white, black and dark yellow.
I used 2.75 mm needles (US size 2) to give me a nice firm knitted fabric. I didn't want to see white filling peeping through the black stitches.
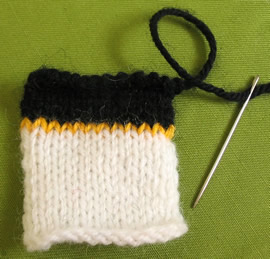
Body and head: Using white yarn cast on 13 stitches and knit 12 rows. Then knit 1 row yellow and finally 6 rows black. Break yarn 15 cm from knitted piece and remove stitches onto this length of yarn using a large sewing needle (see above). Gather tightly to form top of head and secure firmly.
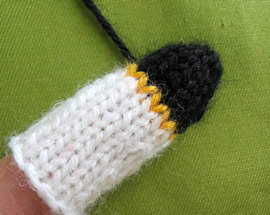
With wrong side facing over-sew the edges and then turn right way out. The penguin at this stage should fit snugly on your& forefinger.
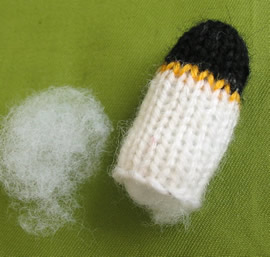
Stuff the penguin to match the size he was when on your forefinger.

Neck: Run a length of black yarn under each black stitch just above the yellow row. Pull to form a neck and secure. You should find a small amount of filling will pop out at the bottom (see above). You don't need to replace this unless you feel your penguin isn't fat enough.
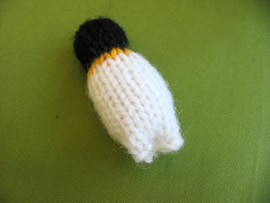
Legs: Pinch together the base of the penguin (front to back) and secure with a couple of white stitches in the centre to prevent filling falling out. Do the same from side to side but don't pull too tightly. Secure and break off yarn.
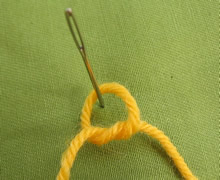
Beak: take a piece of yellow yarn approx 25 cm (10 in) long ans tie round sewing needle as shown above. Pull tight.
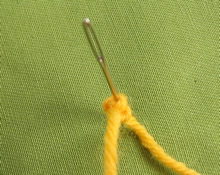
Do this three more times (pulling tight each time). Remove the needle. You have made a tiny beak which should have two tails of yarn attached.
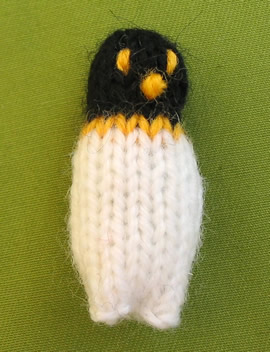
Thread one of the yarn tails onto your needle and positioning your beak (2 rows above the yellow stripe) push the needle through to the back bringing it out just below the yellow stripe. Fasten off securely. (NB. The area at the back below the yellow stripe won't be visible when the penguin is finished so you can use this area to fasten off your stitching). Thread the second yarn tail onto the needle and thread through to the back as before. Now use this yarn to create two yellow eyes on either side of the beak (see above).
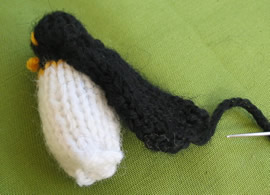
The cloak (makes wings and tail): With black yarn cast on 13 stitches and knit 15 rows. Break yarn 15 cm (6 in) from work and thread yarn onto needle. Pull the yarn to gather the cloak so it will fit round the back of the penguin's neck (from shoulder to shoulder). Stitch down neatly. Pinch together the bottom of the cloak (at the centre point) and place two stitches here to form a little tail which will be large enough for him to rest on when he is standing. Stitch the tail to the back of the penguin
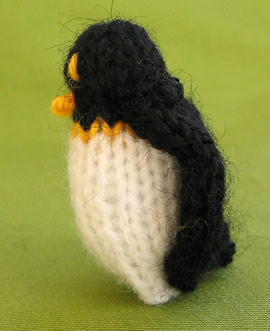
Now lift the cloak at each side to make the wings protrude slightly and secure each one at the bottom. You have finished! Hopefully you will have made .......
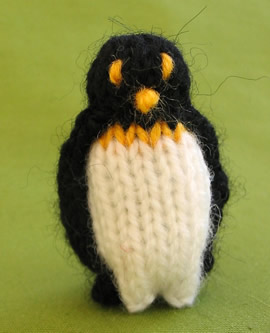
a cute little penguin.
Recent Comments